


How to Ace Your End of Tenancy House Cleaning
Posted on 06/09/2025
How to Ace Your End of Tenancy House Cleaning
Moving out can be a stressful process, and end of tenancy house cleaning is often one of the biggest chores you'll face before handing back the keys. Whether you're eager to secure your security deposit, avoid disputes with landlords, or simply want to leave your home in pristine condition for the next occupants, mastering end of lease cleaning is essential.
Why Is End of Tenancy Cleaning Important?
Landlords and letting agents expect properties to be returned in a clean and tidy state. Failing to carry out a thorough end of tenancy clean can lead to deductions from your deposit or even potential disputes. When you ace your house cleaning at the end of tenancy, you improve your chances of a full refund and ensure a hassle-free moving experience.
- Comply with tenancy agreements and avoid penalties
- Ensure a smooth move-in for the next tenant
- Maximize your deposit return
- Maintain your reputation as a responsible tenant
Preparation: Setting Up for Success
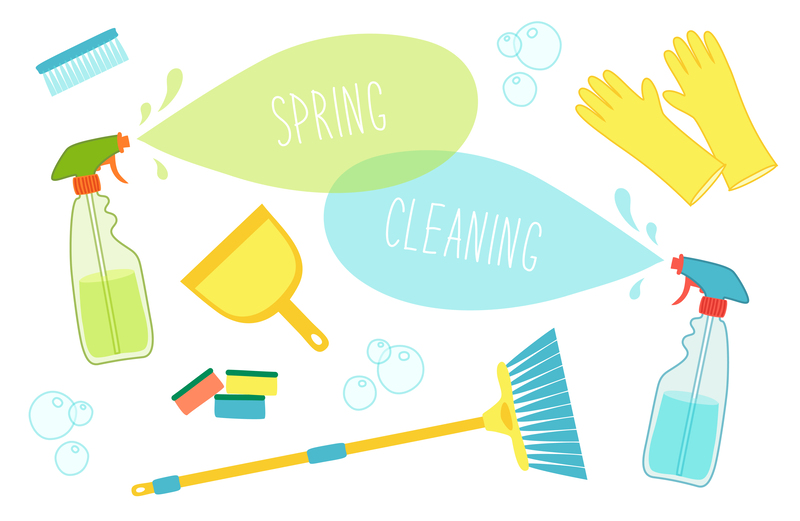
1. Gather Essential Cleaning Supplies
Before diving into your move-out cleaning, assemble a comprehensive set of supplies. Having everything at hand will streamline the process and prevent unnecessary interruptions.
- Multi-purpose cleaners (for surfaces and kitchen appliances)
- Glass cleaner
- Toilet and bathroom cleaners
- Descaling solution (for kettles, taps, shower heads)
- White vinegar and baking soda (natural cleaners for stubborn stains)
- Microfiber cloths and sponges
- Scrubbing brushes
- Mop, bucket, and vacuum cleaner
- Dustpan and brush
- Garbage bags
- Protective gloves
2. Plan Your Cleaning Schedule
Set aside ample time for thorough end of tenancy cleaning. Depending on the size of your property, it can take from several hours to a full day, especially if you haven't kept up with regular deep cleaning. Make a checklist of rooms and tasks to ensure nothing is overlooked.
Room-by-Room End of Tenancy Cleaning Guide
A meticulous approach ensures every corner is spotless. Let's break down the process by room:
Kitchen Cleaning Strategies
- Oven and Hob: Remove all racks and trays. Soak them in soapy water. Use a dedicated oven cleaner to dissolve stubborn grease and burnt-on food. Don't forget the oven door, knobs, and hob surfaces.
- Fridge and Freezer: Defrost and clean thoroughly, wiping shelves, drawers, and seals. Leave the door open once done to prevent mold.
- Drawers and Cupboards: Empty, vacuum crumbs, and wipe down inside and out. Remove any leftover food.
- Sinks and Taps: Descale taps with vinegar. Polish for a gleaming finish. Remove limescale and any deposits.
- Countertops and Tiles: Wipe down surfaces, tiles, and grout. Address stains and sticky spots.
- Microwave, Dishwasher, and Kettle: Clean inside and out, run an empty cycle with vinegar (for dishwashers and kettles) to remove odors and scale.
- Floors: Sweep, mop, and pay extra attention to corners and behind appliances.
Bathroom Deep Cleaning
- Toilet: Scrub inside and out with a disinfectant. Don't forget the base and behind the toilet.
- Shower and Bath: Remove limescale from screens, taps, and shower heads. Clean grout and tiles thoroughly.
- Sinks and Faucets: Polish chrome surfaces and remove watermarks.
- Mirrors: Wipe with glass cleaner or vinegar for streak-free shine.
- Floors: Mop and sanitize, especially around fittings and in corners.
- Extractor Fans: Dust and clean to prevent mould buildup.
Living Areas and Bedrooms
- Walls and Doors: Spot-clean marks. Use a gentle cleaner to avoid paint damage.
- Baseboards, Skirting, and Light Switches: Wipe down all surfaces.
- Windows and Window Sills: Clean inside (and outside, if accessible). Polish with a microfiber cloth.
- Carpets and Floors: Vacuum thoroughly, paying attention to edges and under furniture. Consider professional carpet cleaning for stubborn stains.
- Curtains and Blinds: Vacuum or wash if possible. Dust blinds with a damp cloth.
- Furniture: Clean and polish surfaces. Remove dust from backs and bottoms.
Hallways and Entryways
- Floors: Sweep, vacuum, or mop as appropriate.
- Doors: Pay attention to handles and frames.
- Storage Areas: Empty, vacuum, and wipe down inside wardrobes or closets.
Tips for a Professional-Quality Tenancy Clean
- Start at the top and work down - Dust light fixtures and shelves first so debris falls onto surfaces you'll clean later.
- Don't forget hidden spaces - Clean behind and under furniture, radiators, and large appliances.
- Check for cobwebs on ceilings and upper corners.
- Leave windows slightly open to air out lingering cleaning smells.
- Finish with a walkthrough and check your cleaning list against the inventory report.
Commonly Missed Spots
- Extractor fans and vent covers
- Light switches and plug sockets
- Inside washing machine and dishwasher rubber seals
- Behind and under large appliances
- Window tracks and frames
Paying attention to these areas will demonstrate attention to detail and impress landlords or agents.
DIY vs Professional End of Tenancy Cleaning
Deciding between DIY and hiring a professional end of tenancy cleaning service depends on your budget, available time, and the property's condition. Here's a quick comparison:
- DIY Cleaning Advantages: Saves money, can be done at your own pace, and provides full control over products used.
- Professional Cleaning Advantages: Experts can achieve higher standards, less effort for you, and many agencies provide end of lease cleaning guarantees for deposit returns.
If your property needs specialist treatment (like carpet steam cleaning or stain removal), or you are short on time, consider a reputable cleaning company. Otherwise, a focused DIY approach can be equally successful if you follow a comprehensive checklist.
Checklist for End of Tenancy House Cleaning
A detailed end of tenancy cleaning checklist is your blueprint for success. Here's an example to ensure every area is spotless:
- All rooms: Dust, vacuum, mop, clean windows, skirting boards, corners, light switches, plug sockets, doors, and handles.
- Kitchen: Clean oven, hob, extractor fan, microwave, fridge/freezer, cupboards (inside and out), surfaces, sink, taps, floor.
- Bathroom: Clean toilet, sink, bath/shower, tiles, mirrors, shelves, extractor fans, floor.
- Bedrooms/Living areas: Dust all surfaces, clean wardrobes, mirrors, vacuum mattresses (if provided), and wipe furnishings.
- Exterior (where included): Sweep patios, empty bins, wipe balconies.
How Long Should End of Tenancy Cleaning Take?
Time needed for end of tenancy cleaning depends on property size, number of rooms, and the level of dirt or stains. As a rough guideline, expect:
- 1-bedroom flat: 4-6 hours
- 2-bedroom property: 6-8 hours
- 3-bedroom house: 8-10 hours
If working as a team, divide tasks to speed up the process. Begin at opposite ends and meet in the middle for efficiency!
Frequently Asked Questions about End of Tenancy Cleaning
Do I need to hire professional cleaners?
Not always. If your tenancy agreement doesn't explicitly state that a professional clean is required, a thorough DIY job using a solid end of tenancy house cleaning checklist is typically sufficient. However, for large or heavily soiled properties, professionals may be preferable.
What happens if I don't clean properly at the end of my tenancy?
Failure to return the property in a clean state can result in deposit deductions or even disputes that delay the return of your money. Landlords may deduct the cost of professional cleaning from your deposit.
Are carpets and upholstery included in end of tenancy cleaning?
If carpets or upholstery are stained or dirty, it's wise to deep clean carpets and wipe down all soft furnishings. Check your tenancy agreement for any required cleaning methods, such as steam cleaning or dry cleaning.
Should I clean windows inside and out?
Clean windows on the inside thoroughly. Outside cleaning is a bonus unless it's specified in your agreement. For upper floors, clean as far as safely possible.
Beyond Cleaning: Final Steps Before Returning Keys
- Take photos of each room once cleaning is complete for your records.
- Dispose of all rubbish and unwanted items responsibly.
- Check utility meters, note readings and inform providers.
- Return all keys and access fobs/cards to your landlord or agent.
Conclusion: Leave Your Home with Confidence
Executing a stellar end of tenancy house cleaning isn't just about following rules or avoiding penalties--it's about showing respect for your living space and the next resident. With planning, patience, and our detailed room-by-room guide, you can ace your move-out clean and maximize your deposit return.
Remember, attention to detail is key. Review your tenancy agreement for specific cleaning requirements, use our included checklist, and don't hesitate to seek professional help if needed. Your future self--and your landlord--will thank you!
Additional Resources
Polish off your end of lease cleaning with a sense of accomplishment, and move on to your new adventure with peace of mind!